English
 Arabic
 French
 Spanish
 Portuguese
 Deutsch
 Turkish
 Dutch
Dutch
 Italiano
 Russian
 Romaian
 Portuguese (Brazil)
 Greek
Greek

Creating an Attractive Garden With Thoughtful Design
Other |
2026-10-15 19:03:58
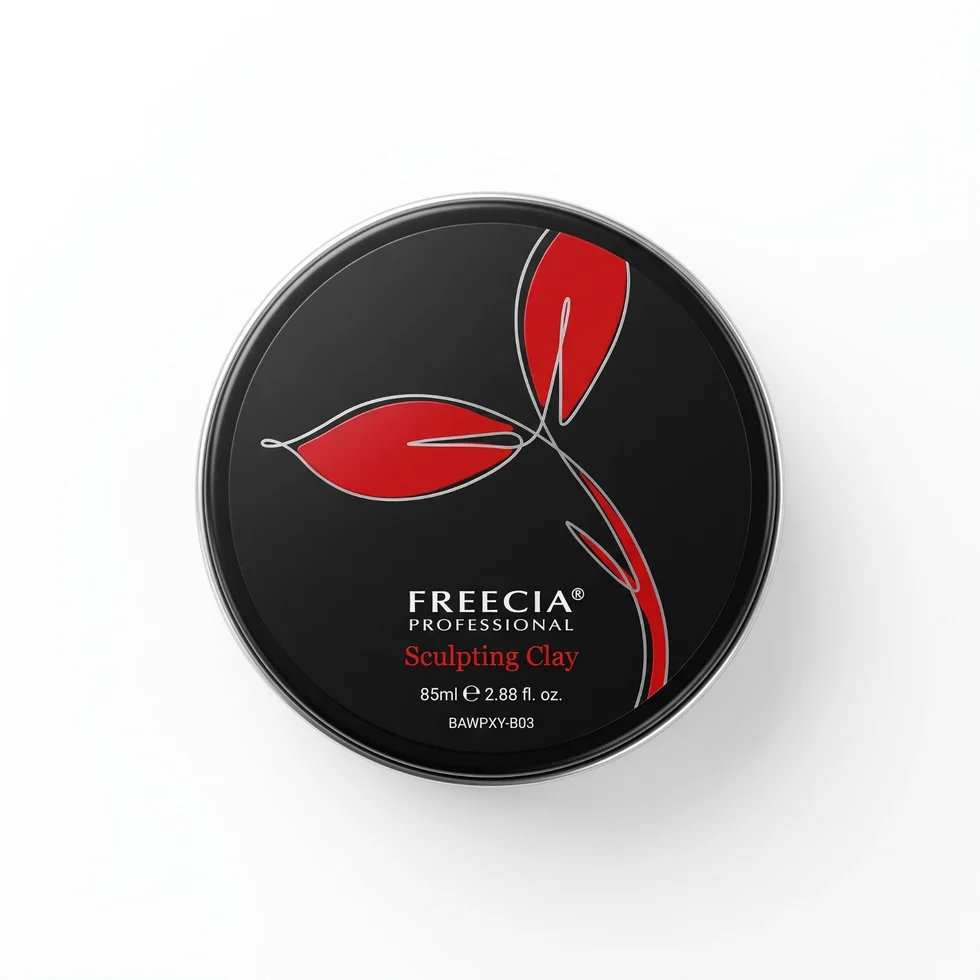
Achieving a natural-looking hairstyle does not always require complicated styling techniques or multiple hair products. With the right approach, hair sculpting clay can help create texture, definition, and a controlled finish without making your hair look stiff or excessively shiny. Whether you prefer a relaxed, messy hairstyle, a textured crop, or a neatly styled everyday look, sculpting clay offers a practical way to shape your hair while maintaining its natural appearance.
However, getting the best results depends on how you prepare your hair, how much product you use, and how you distribute it. Understanding these basics can help you avoid common styling mistakes and achieve a hairstyle that looks effortless throughout the day.
Hair sculpting clay is a styling product designed to provide hold, texture, and definition. Unlike some traditional gels that can leave hair looking wet or stiff, many styling clays offer a matte or low-shine finish. This makes them suitable for people who want their hair to look natural rather than heavily styled.
Depending on the formula, sculpting clay can help create separation between hair strands, add a fuller appearance, and keep individual sections in place. It is particularly useful for textured hairstyles, short haircuts, quiffs, and casual styles that benefit from a slightly tousled finish.
The final result depends on the product's hold strength, your hair type, and the styling technique you use.
Preparing your hair properly is the first step toward achieving a natural-looking hairstyle. Wash your hair when necessary to remove excess oil, dirt, and leftover styling products. Clean hair generally makes it easier to distribute a styling product evenly.
After washing, dry your hair with a towel to remove excess moisture. For most matte styling clays, completely dry hair provides a good starting point because it helps the product create texture and hold.
If you want additional volume, use a hairdryer on a low or medium heat setting while lifting your hair at the roots with your fingers or a brush. Direct the airflow in the direction you want your hairstyle to sit.
Avoid applying excessive heat, and let your hair cool before adding the clay. This helps you work with your hair's natural shape rather than fighting against it.
One of the most common hair styling mistakes is using too much product at once. Excessive clay can make your hair look heavy, greasy, or difficult to restyle, even when the product has a matte finish.
Begin with a small, pea-sized amount, particularly if you have short or fine hair. If your hair is thick, long, or particularly difficult to manage, you may need slightly more.
You can always add another small amount if you need extra definition or hold. Starting with less gives you better control over the final appearance and reduces the risk of product buildup.
Remember that the goal is to shape your hair, not coat every strand with a thick layer of product.
Before applying the clay, rub it between your palms and fingertips until it softens and spreads more easily. Some sculpting clays have a firm consistency, so warming the product helps make application smoother.
Pay attention to your fingertips because they will help you work the product through different sections of your hair.
Make sure the clay is distributed across both hands rather than concentrated in one spot. This reduces the chance of leaving visible clumps or creating uneven texture.
If the product remains difficult to spread, use a smaller amount and work it gradually instead of applying a large quantity at once.
Run your fingers through your hair to distribute the clay from the back and sides toward the top. Focus on applying the product evenly instead of placing most of it directly on the front section.
For a natural finish, work the clay through the mid-lengths and ends where you want texture and separation. Avoid applying excessive amounts directly to the scalp, particularly if your hair becomes oily easily.
Use your fingers to lift, separate, and arrange individual sections. This technique creates a more relaxed appearance than pressing all your hair into one fixed shape.
If you want a textured fringe, gently move the front section forward or to one side. For a quiff, lift the front hair upward and slightly backward while keeping the sides controlled.
Once the clay is distributed, begin shaping your hair according to your preferred style. Your fingers provide flexibility and allow you to create natural movement without making the hairstyle look overly uniform.
For a messy hairstyle, gently twist a few strands and separate sections with your fingertips. Avoid arranging every strand perfectly, as small variations help create a relaxed appearance.
For a textured crop, move the hair into position and pinch selected sections to create definition. If you prefer a side-parted hairstyle, guide the hair in the desired direction while allowing some natural movement at the front.
You can also use a comb for a more controlled finish. However, finish with your fingers if you want to soften the appearance and avoid an excessively polished look.
After shaping your hair, check whether it has the balance of hold and movement you want. Your hairstyle should stay reasonably in place while retaining a natural appearance.
If certain sections fall flat, rub a tiny amount of additional clay between your fingertips and apply it only where needed. This targeted approach helps you avoid weighing down the rest of your hair.
For additional volume, gently lift the roots with your fingers. For more definition, pinch small sections rather than adding product across your entire head.
Avoid repeatedly adding clay whenever a strand moves out of place. Natural hairstyles do not need to remain perfectly fixed, and a little movement can make the overall look more effortless.
Several small mistakes can affect the final result when using sculpting clay.
Applying too much product: Start with a small amount and build gradually.
Using uneven application: Warm the clay thoroughly and spread it across your hands before styling.
Ignoring your hair type: Fine hair may need less product, while thick hair may require additional hold.
Styling against your hair's natural direction: Work with your natural growth pattern whenever possible.
Overworking the hairstyle: Excessive manipulation can reduce volume and make the hair look messy in an unintended way.
Ignoring product buildup: Wash your hair regularly and remove styling residue when needed.
Avoiding these mistakes can make your styling routine simpler and help you achieve more consistent results.
The best sculpting clay depends on your hair type, preferred hairstyle, and desired finish. Fine hair may benefit from a lightweight formula that provides texture without weighing it down. Thick hair may require a stronger-hold product to maintain its shape.
If you prefer a natural appearance, look for a clay with a matte or low-shine finish. If you frequently restyle your hair during the day, consider how flexible the product remains after application.
Your haircut also matters. Short, textured styles often require less product, while longer hairstyles may need additional attention to distribute the clay evenly.
Choose a formula that fits your everyday routine rather than selecting a product based on hold strength alone.
Using hair sculpting clay correctly can help you achieve a natural-looking hairstyle with texture, definition, and flexible control. Start with clean, dry hair, apply a small amount of product, warm it between your palms, and distribute it evenly before shaping your hair with your fingers. Adjust the amount according to your hair type and avoid excessive application to maintain a lightweight, natural finish.
For anyone exploring Hair Styling Clay in Pakistan, Freecia offers an option to consider when building a practical hair styling routine. By combining a suitable styling product with the right application technique, you can create everyday hairstyles that look defined without appearing overly stiff, greasy, or artificial.