English
 Arabic
 French
 Spanish
 Portuguese
 Deutsch
 Turkish
 Dutch
Dutch
 Italiano
 Russian
 Romaian
 Portuguese (Brazil)
 Greek
Greek

Ridgeview Landscape: Elite Landscapers in Mansfield
Home |
2026-09-28 18:52:51
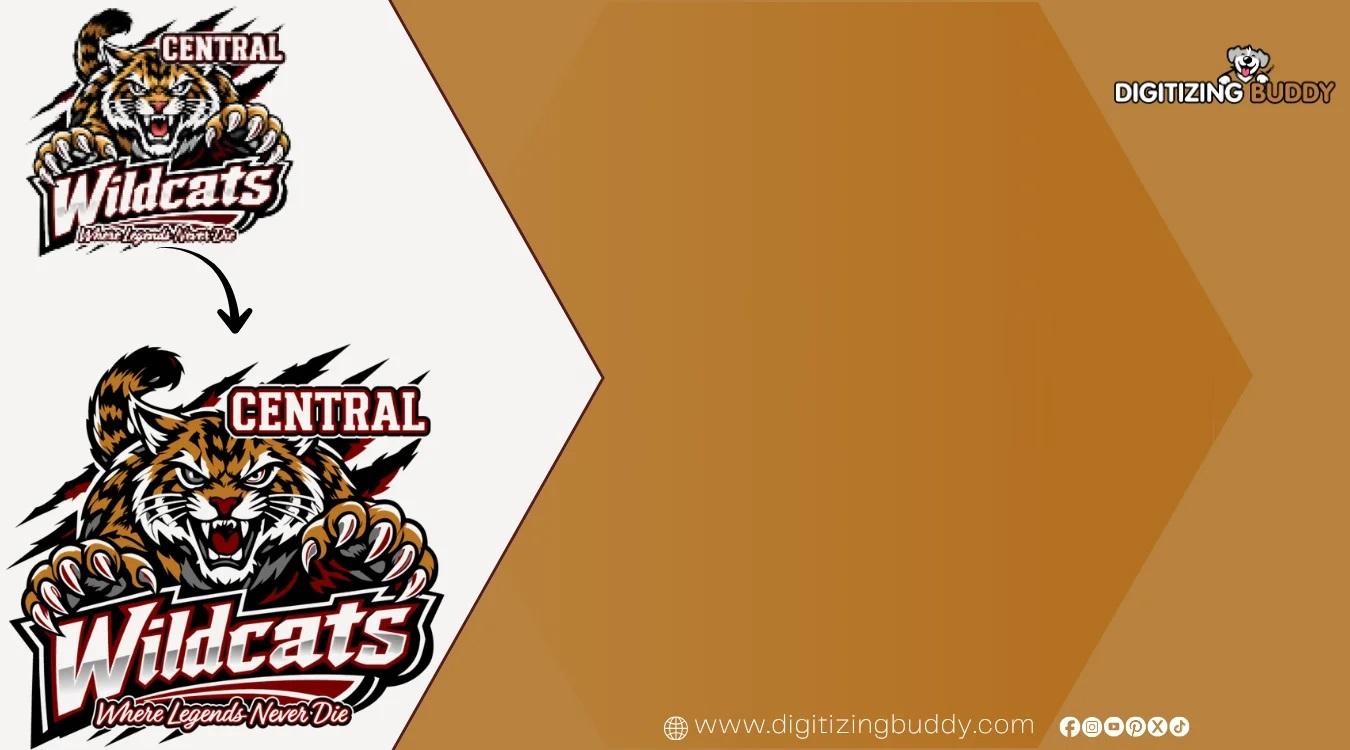
A blurry logo or low-resolution image can quickly become a problem when you need to print it on a large banner, shirt, sign, or product. The good news is that you can turn an image into vector art and create a clean graphic that stays sharp at almost any size.
Vector artwork is built with paths, shapes, and curves rather than fixed pixels. This makes it useful for logos, branding, printing, embroidery preparation, packaging, and many other design projects.
Whether you have a JPG, PNG, scanned sketch, or another raster image, the right vector conversion process can give your artwork a much cleaner and more professional appearance.
When you turn an image into vector art, you convert a raster image made of pixels into artwork based on mathematical paths.
Raster files such as JPG and PNG can lose quality when enlarged. Vector files, however, can be resized without becoming noticeably pixelated.
Common vector formats include:
For example, imagine you have a small logo that looks perfect on your phone but becomes blurry when printed on a large sign. Converting that logo into vector artwork allows the designer to recreate its shapes and details as scalable paths.
There are several reasons businesses, designers, and creators choose vector conversion.
Vector graphics can be enlarged or reduced while maintaining clean edges. This is especially helpful when the same logo needs to appear on a business card and a billboard.
Professional printing often requires clean artwork. Vector files make it easier to produce sharp logos, illustrations, icons, and other graphics.
Once an image has been properly converted, individual shapes and colors can often be edited more easily.
You can change colors, adjust outlines, move elements, or modify shapes without rebuilding the entire design.
Businesses often use the same logo across websites, packaging, uniforms, promotional products, and printed materials.
A properly prepared vector logo provides a flexible master file for these applications.
The conversion process depends on the complexity and quality of the original image. A simple icon may take only a few minutes, while a detailed illustration may require careful manual work.
Here is a typical workflow.
Start with the highest-quality image available.
A clear image gives the designer more information about edges, shapes, and colors. If possible, avoid heavily compressed or extremely blurry files.
Good source images include:
Before vector tracing begins, unwanted marks and background elements may need to be removed.
Cleaning the source image can make the conversion more accurate and reduce unnecessary paths.
For example, a hand-drawn logo may contain dust, paper texture, or small imperfections that should not appear in the final vector file.
The next step is to recreate the important elements using vector paths.
Simple artwork can sometimes be traced automatically with vectorization software. However, automatic tracing is not always perfect.
Complex artwork may require manual tracing to produce smoother curves and cleaner shapes.
This is where professional vector artwork can make a major difference.
Poorly created vector paths may contain:
A careful designer simplifies and adjusts the paths so the artwork looks natural.
Colors are then matched or rebuilt using appropriate fills, strokes, and color settings.
For commercial printing, the final color setup may need to match the printer's requirements.
If the artwork will be used for branding, keeping colors consistent is especially important.
Before delivery, inspect the artwork at different sizes.
Look for rough edges, missing details, incorrect colors, overlapping paths, and other problems.
A good vector file should remain clean when enlarged and should be easy to edit.
When you turn an image into vector art, you may have the option of using automatic tracing or manual conversion.
Automatic tracing is useful for simple images with clear shapes and limited colors.
It can save time and provide a starting point for further editing.
However, automatic conversion may create excessive anchor points or incorrectly interpret small details.
Manual tracing takes more time but provides greater control.
A designer can decide which details matter, how curves should flow, and which elements should be removed.
Manual vector conversion is often a better choice for logos, detailed artwork, and designs that need professional production quality.
Not every image produces the same result.
Images with strong contrast, clear outlines, and simple shapes are generally easier to convert.
This does not mean complex images cannot be converted. They simply require more artistic decisions and manual refinement.
Once you turn an image into vector art, the resulting file can be useful for many applications.
Vector logos are ideal for branding because they can be resized for websites, signs, packaging, stationery, and promotional products.
Clean vector artwork can be used as a foundation for many apparel printing workflows.
Large-format printing benefits from scalable artwork because designs need to remain sharp at large dimensions.
Vector artwork can also serve as a useful starting point when preparing certain graphics for embroidery digitizing. However, a vector file is not the same as an embroidery file.
Embroidery machines require stitch-based formats, so the artwork generally needs to be digitized separately.
If you want a cleaner result, keep these tips in mind:
The goal is not simply to create a vector file. The goal is to create a vector file that is clean, practical, and ready for its intended use.
Simple graphics can sometimes be converted using vectorization tools. But professional help may be worthwhile when the artwork is important to your business or requires precise detail.
Consider professional vector conversion if:
At Digitizing Buddy, professional artwork preparation can help turn rough or pixel-based graphics into cleaner, production-ready vector artwork.
The best file format depends on how you plan to use the artwork.
SVG is commonly useful for websites and digital graphics.
EPS is widely used for professional printing and editable artwork.
AI is useful when working with editable Adobe Illustrator artwork.
PDF can be useful for sharing and certain print workflows, depending on how the file was created.
Before requesting a conversion, ask your printer, designer, or production company which format they prefer.
Yes. A JPG can be traced and recreated as vector artwork. The final quality depends heavily on the resolution, clarity, and complexity of the original image.
Yes. PNG images can be converted into vector formats such as SVG, EPS, or AI. Transparent backgrounds can also make some conversions easier.
It can work well for simple graphics, but complex artwork often needs manual cleanup. Automatic tracing may create unnecessary paths or inaccurate shapes.
There is no single best format for every situation. SVG is useful for digital applications, while AI and EPS are commonly useful for editable professional artwork and printing.
Yes, but photographs are more complicated than simple logos. They usually need to be simplified or artistically recreated rather than converted into perfectly identical vector shapes.
Learning how to turn an image into vector art can solve many common quality and scalability problems. Instead of relying on pixel-based artwork that becomes blurry when enlarged, vector conversion creates clean paths that can be resized and edited more easily.
For simple logos and icons, automatic tracing may provide a useful starting point. For detailed or commercially important artwork, manual vectorization often produces a cleaner and more professional result.
The key is to start with the best source image possible, simplify unnecessary details, refine the paths, check colors, and choose the right output format. With a properly prepared vector file, your artwork becomes much more flexible for printing, branding, digital use, and other creative projects.